Most robotics portfolios look the same. A line-following robot, a Gazebo simulation, maybe a certificate project that follows a tutorial step by step. And the problem isn't that these projects are bad, it's that they don't prove much. They show a recruiter or hiring manager that you learned something. They don't show that you can build and integrate something.
Robotics is fundamentally an integration discipline. A working robot is mechanical design talking to electronics, electronics talking to firmware, firmware talking to a software stack, and a software stack making decisions based on what sensors report back. If your portfolio only demonstrates one slice of that chain, it doesn't demonstrate that you can ship a robot. Hiring teams already assume you can do that. What they're screening for is whether you can own a system end to end.
That's why one well-executed, fully integrated project will outperform ten shallow ones. This post walks through what makes a project actually portfolio-worthy, introduces a specific project you can build, and lays out exactly what you'll learn and what resources you'll need to pull it off for free.
What Makes a Robotics Project Portfolio-Worthy?
Not all projects are created equal, and it helps to be honest about which category yours falls into.
Following a tutorial means you cloned a repo, changed a few parameters, and got a robot to do something someone else already designed. Useful for learning, close to worthless as a portfolio piece, because anyone reviewing your work can tell it's the same project as a thousand other GitHub forks.
Building a standalone project means you designed something original a custom mechanism, a unique control loop, a novel dataset but it may still live in isolation. It works in simulation, or it works in one narrow context, but it doesn't have to survive contact with the real world.
Solving an actual robotics problem is the tier that gets you hired. This means your robot has to sense an unpredictable environment, make a decision, and act on it physically, with all the friction that implies: sensor noise, actuator delay, battery voltage sag, mechanical slop, and code that has to run in real time, not just in a notebook.
The dividing line between these tiers is integration the mechanical, electronic, software, AI, and deployment layers all working together as one system.
Meet the Project: The Autonomous Fetch-Bot
The project I'd recommend building is an Autonomous Fetch-Bot a small mobile robot that navigates an unfamiliar indoor space, visually identifies a specific target object among several distractors, drives to it, and either signals arrival or physically retrieves it with a simple gripper or scoop mechanism.
What it does: Given a command like "find the red mug," the robot maps its surroundings, explores until it locates the object using computer vision, plans a path to it while avoiding obstacles, and confirms the pickup or delivery.
The problem it solves: This is a compressed version of real warehouse, home-assistance, and last-mile delivery robotics the same core loop (perceive, localize, decide, navigate, manipulate) that companies building fulfillment robots, service robots, and inspection robots all rely on.
Why it's interesting: It's small enough to build on a weekend budget but touches every layer of the stack: it forces you to reconcile a simulated environment with real-world sensor noise, forces your CV model to work under bad lighting and clutter, and forces your navigation stack to replan when reality doesn't match the map.
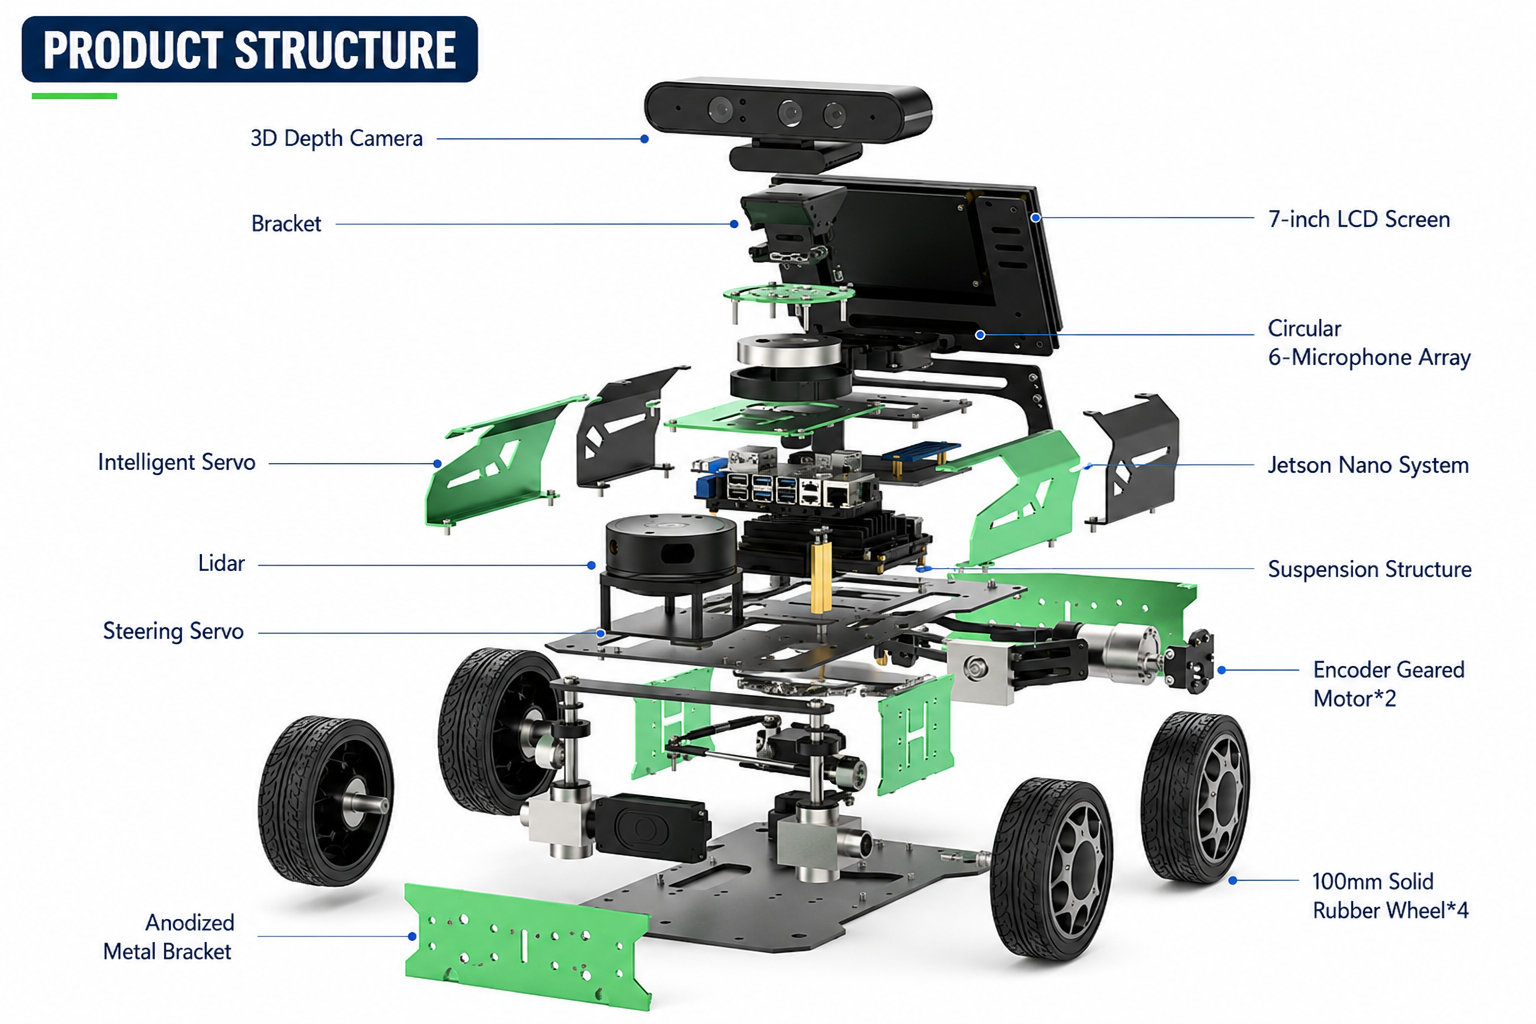
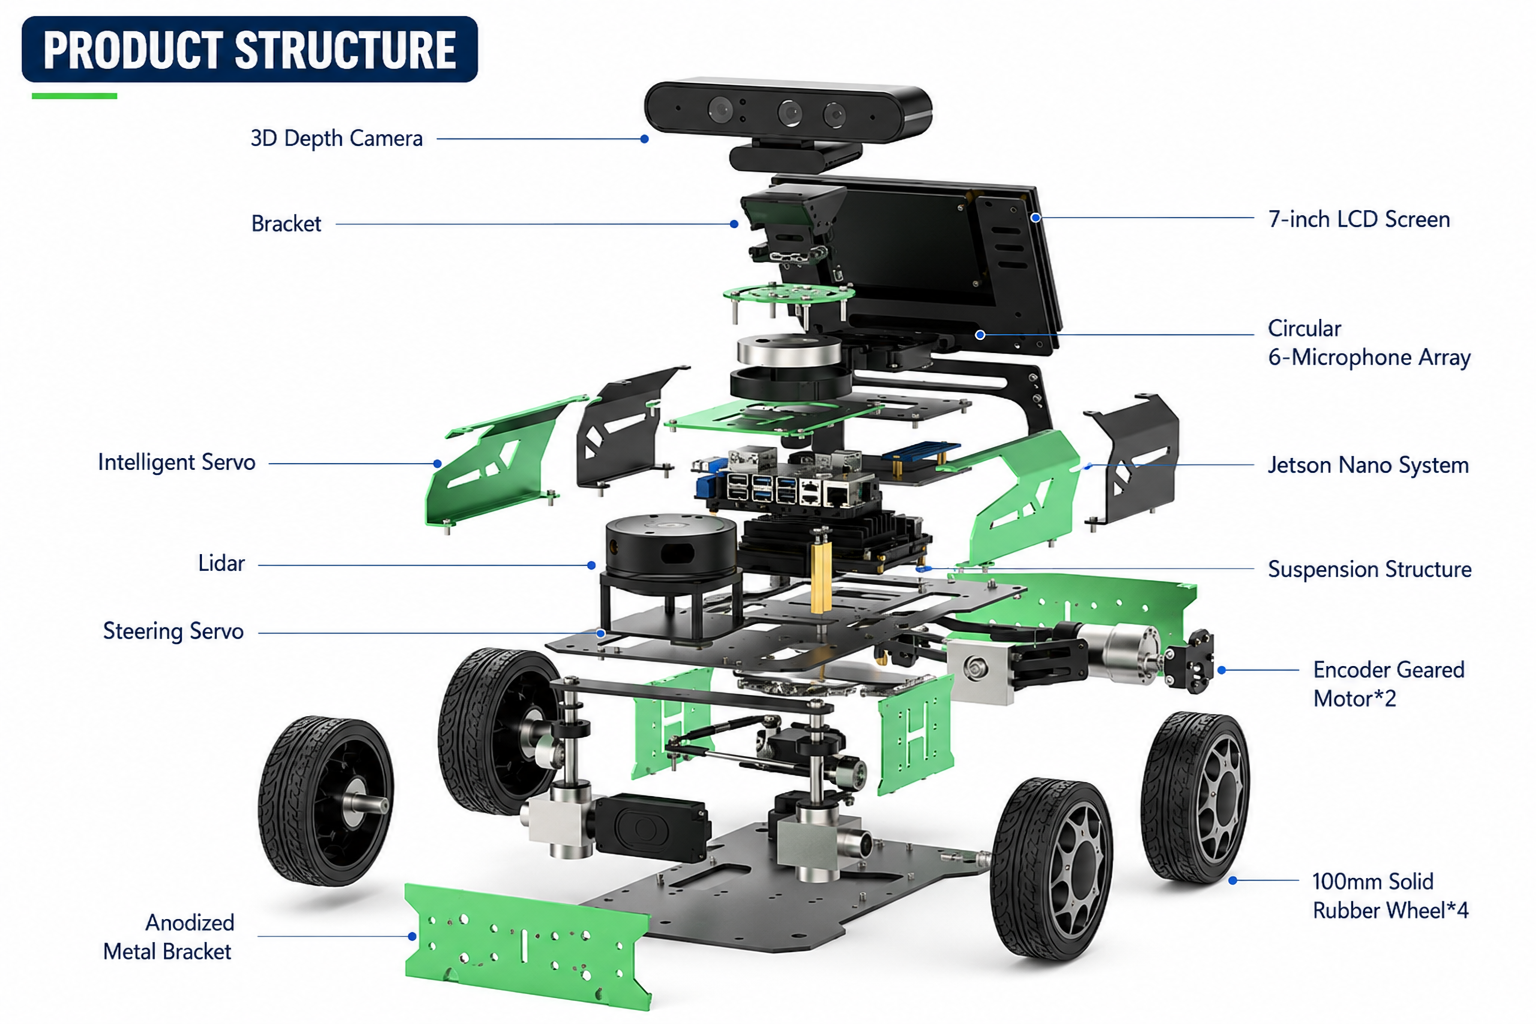
What the final robot looks like: A two- or four-wheeled differential-drive base (roughly the footprint of a shoebox), a Raspberry Pi or Jetson Nano running the compute stack, a camera mounted at the front for perception, an ultrasonic or LiDAR unit for obstacle detection, and a simple servo-driven gripper or scoop on the front. Nothing exotic the value is in how the pieces talk to each other, not in expensive hardware.
What You'll Actually Learn Building It
Breaking the project down by discipline shows why it covers so much ground:
Mechanical: CAD modeling of the chassis and gripper, designing assemblies with tolerances that actually fit, choosing mechanisms (four-bar linkage vs. simple claw) and understanding trade-offs in torque and reach.
Electronics: Selecting and wiring DC motors, motor drivers (like an L298N or a modern driver board), power distribution across a battery pack, and integrating sensors (ultrasonic, IMU, camera) without frying your Pi.
Programming: Writing control logic in Python and/or C++, handling asynchronous sensor callbacks, and debugging timing issues that only show up on real hardware.
Robotics middleware: Structuring the whole system in ROS 2 nodes for perception, navigation, and control; topics and services connecting them; TF for keeping track of coordinate frames between the robot base, camera, and gripper.
Simulation: Prototyping and testing navigation and control logic safely in Gazebo before touching hardware, and visualizing sensor data and robot state in RViz.
Computer vision: Using OpenCV (and optionally a lightweight trained model) for object detection and localization within the camera frame.
AI and decision-making: Building simple perception-to-action logic deciding when the object is "found," when to stop, when to replan a path around an obstacle.
Deployment: The hardest and most valuable skill of all taking code that works perfectly in simulation and making it work on real, imperfect hardware with real sensor drift and real latency.
The Architecture Behind the Robot
The system architecture is best understood as a pipeline, with feedback loops layered on top:
Sensors → Perception → ROS 2 → Decision Making → Control → Actuators
Concretely: the camera and range sensors feed raw data into perception nodes, which process it with OpenCV to detect the target object and estimate its position. That processed information flows through ROS 2 topics into a decision-making node, which decides whether to keep exploring, approach the target, or avoid an obstacle. That decision becomes a velocity or trajectory command, which a control node translates into motor signals, which finally drive the wheels and gripper. Sensor data keeps streaming back in throughout, so the loop continuously corrects itself rather than executing a single ballistic plan.
Drawing this architecture out even as a simple box diagram before you write a line of code is one of the most valuable habits you can build. It's also exactly the kind of diagram an interviewer will ask you to sketch on a whiteboard.
Free Resources to Build It
You don't need a lab budget to pull this off. Everything below is free or nearly free:
ROS 2 (Humble or Jazzy) the open-source middleware tying the whole system together; official docs and tutorials cover navigation, TF, and node design in depth.
Gazebo free physics simulator for testing your robot before it exists physically.
RViz free visualization tool bundled with ROS 2 for inspecting sensor data, TF frames, and planned paths.
OpenCV free, open-source computer vision library with extensive tutorials for object detection.
Hardware a Raspberry Pi or Arduino for the compute/control layer, plus low-cost motor drivers, ultrasonic sensors, and a webcam; total hardware cost can stay well under what a single course or bootcamp costs.
GitHub host your code publicly, document your build process, and let your commit history do some of the talking for you.
You Don't Need 10 Projects. You Need One Good One
One project that starts in simulation, survives the move to real hardware, integrates perception with decision-making, and ends with a working demo video tells a far more convincing story than ten projects that each show a single skill in isolation.
Build the Fetch-Bot, or something like it, all the way through mechanical to electronics to ROS 2 to AI to deployment and you'll walk into your next interview with something better than a list of skills. You'll have proof you can build a robot, not just follow one.