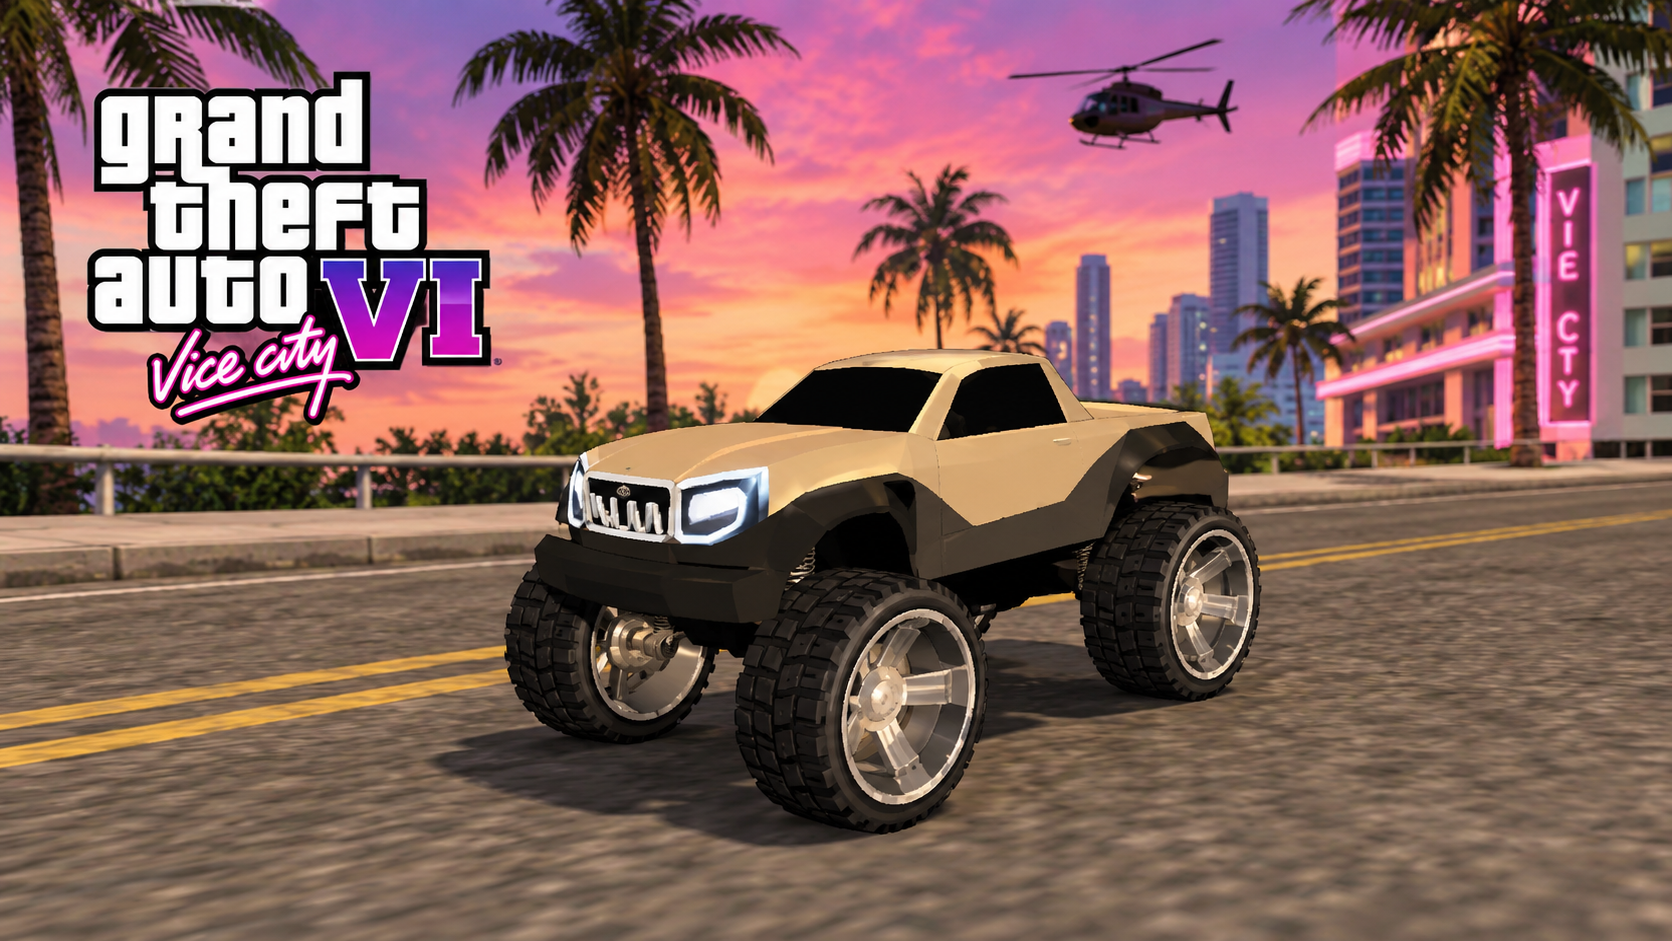
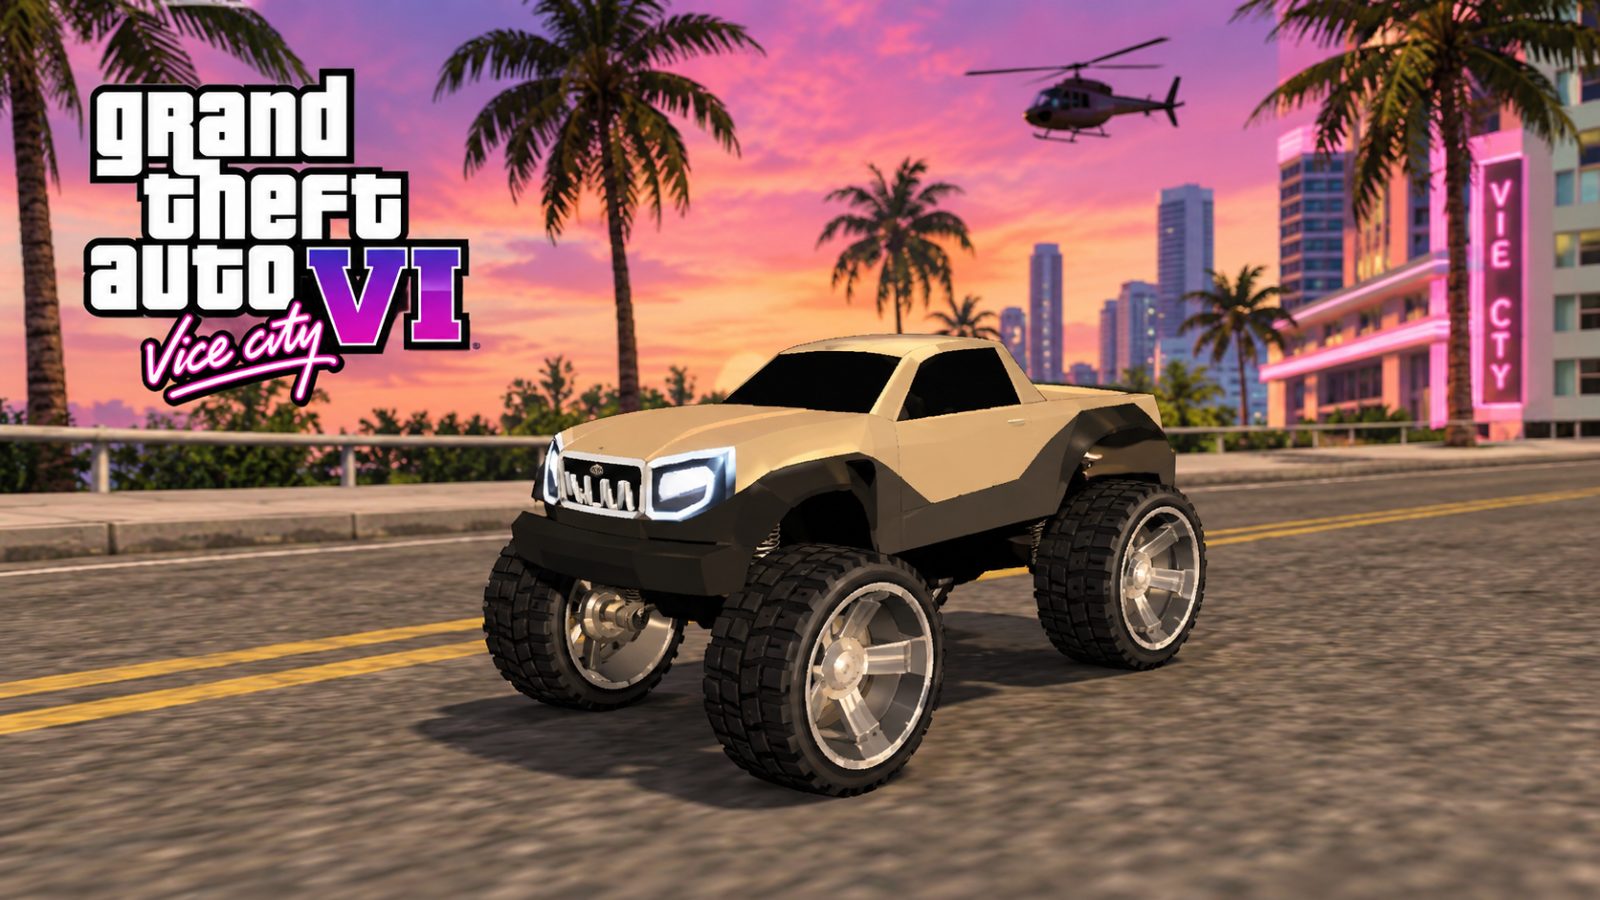
GTA 6 just dropped, and everyone suddenly has a very important reason to avoid their responsibilities. But, what if you could take the GTA experience beyond your screen and actually build your own car?
No, we're not suggesting you steal a Lamborghini, modify a sports car or get a five-star wanted level. We're talking about building a GTA-style RC car using Arduino, motors, wheels and a few essential robotics components.
Imagine controlling a miniature car with your phone, making it accelerate, turn left, turn right and race around your room like it's the streets of Vice City. Sounds fun? It gets better. This project is also a great way to understand how real robotic vehicles work. You'll learn about motor control, electronics, embedded systems and power management while building something you can actually drive.
Why Build if you could just buy?
Sure, you could grab a ready-made remote control car. But that's like playing GTA and only doing the main story while ignoring everything else. Building your own DIY RC car teaches you electronics, coding, and robotics, and you end up with a machine you can customise endlessly: LED headlights, a horn, a phone app, even a PlayStation controller.
Plus, "I built it myself" hits differently at college fests, hackathons, and Instagram stories. And if you survived the GTA tutorial mission, you can survive this project. It's beginner-friendly, promise.
The Loadout: 6 Components You Need
Every heist starts with planning the loadout. Here's your shopping list:
Chassis: the car's body and frame
DC motors: the muscle
Motor driver: the translator between brain and muscle
Arduino or ESP32: the brain
Wheels: where rubber meets road
Battery: the fuel
Let's break each one down like a Rockstar cutscene, minus the 45-minute runtime.
1. Chassis: Your Getaway Car's Skeleton
The chassis is the base that holds everything together. Think of it as picking your car at Los Santos Customs, except here you are the mechanic and nobody charges you for a respray.
You've got three main options:
Ready-made acrylic kits come pre-drilled with motor mounts, which makes them perfect for beginners and quick builds. A 3D-printed chassis is ideal if you want a sleek custom body (hello, muscle car vibes). And DIY materials like wood, PVC, or even thick cardboard are cheap and surprisingly effective for prototypes.
Pick a 4WD chassis for stability and off-road power, or a 2WD chassis with a caster wheel for simple turning. Just make sure there's enough room for your battery and board. Nothing is sadder than a car that can't fit its own heart.
2. DC Motors: The Horsepower
Motors make your car move. For most hobby builds, the go-to choice is the BO motor (the yellow gear motor you've definitely seen in every robotics kit) or a 12V geared DC motor.
What to look for: Voltage between 3V and 12V works for most projects. For RPM, geared motors in the 100 to 300 range balance speed and torque nicely. And torque matters because more of it means better acceleration and the ability to climb small slopes.
Why geared? Plain DC motors spin fast but are weak, like a scooter trying to tow a truck. Geared motors trade a little speed for serious pulling power. You'll need two motors for 2WD, four for 4WD. Want to drift like a Vice City legend? Go for higher RPM and lighter wheels.
Looking for reliable DC motors for your RC car? We're stocking them soon.
3. Motor Driver: The Getaway Driver (Literally)
Here's the classic rookie mistake: connecting motors directly to your Arduino or ESP32. Don't. Microcontroller pins supply tiny amounts of current, and motors are hungry. Do this and your board gets its own personal "WASTED" screen.
A motor driver sits between your brain and your motors, converting low-power signals into high-power action. Popular options: The L298N is the classic: it handles two motors, up to 2A per channel, and is cheap and beginner-friendly, though it runs warm. The L293D is smaller and great for lightweight motors, while the TB6612FNG is more efficient, with less heat and better battery life. If you want no messy wiring at all, motor driver shields plug straight onto an Arduino Uno.
The golden rule: match the driver's current rating to your motors. If your motors pull more than the driver allows, expect smoke. And smoke is only cool in a cutscene. Browse our motor drivers when the store goes live.
4. Arduino vs ESP32: Choose Your Protagonist

Rockstar gave us the three-protagonist setup. Your RC car gives you two serious candidates for the brain.
Arduino Uno or Nano is the reliable one. Huge community, endless tutorials, 5V logic, and easy to learn. Pair it with an HC-05 Bluetooth module or an IR remote and you're rolling. This is Michael energy: experienced, dependable, slightly old-school, and probably going through something.
ESP32 is the wild card. Built-in Wi-Fi and Bluetooth, a faster processor, more pins, and the ability to run a web-based controller or phone joystick without extra modules. Franklin energy: young, versatile, and ready to level up. (Trevor energy is when you connect the battery backwards. We don't talk about Trevor energy.)
So which one? If you're a beginner and want the smoothest ride, go Arduino. If you want phone control, Wi-Fi, or a live camera feed later with an ESP32-CAM, go ESP32. One heads-up: the ESP32 uses 3.3V logic, so double-check that your driver plays nicely with it. Most do, but verify before you fry something expensive.
Find Arduino boards and ESP32 modules in our upcoming store.
5. Wheels: Where the Magic Happens
Wheels decide how your car behaves, and the best car in GTA means nothing with bald tires.
Rubber wheels give excellent grip and are great for carpets, concrete, and light off-roading, while plastic wheels have lower grip, which is perfect for smooth floors and cheeky drifts. Size matters too: 65mm wheels are standard for BO motors, and bigger wheels give higher top speed while smaller ones give more torque. If you're going 2WD, a caster wheel (the free-spinning one) helps the car turn without drama.
Pick wheels that match your motor shaft, or you'll spend an hour wondering why your car moves like it's drunk in Vice City.
6. Battery: The Fuel
No battery, no car. It's that simple. Your main options:
18650 Li-ion cells are rechargeable and powerful, and two in series give 7.4V, which is perfect for most motors (just use a proper holder and a protection circuit). Li-Po batteries are light and high-performance, but handle them with care and never puncture or overcharge them. An AA battery holder is easy and beginner-friendly, but it drains faster than your wallet after a Shark Card purchase. As for 9V batteries, skip them, since they can't deliver enough current for motors.
Always add a power switch. It's your pause menu. Also, check whether your microcontroller needs a regulated 5V supply, since many motor drivers include a built-in regulator that can handle this for you.
Bonus Side Missions (Upgrades)
Once your base car works, unlock these:
Add LED headlights and brake lights for that night-drive aesthetic, a buzzer horn for maximum traffic-jam energy, and an ultrasonic sensor for obstacle avoidance (cops can't catch you if you see them coming). Throw in an ESP32-CAM for a first-person driving view, or go for Bluetooth gamepad control, because a phone joystick is fine but a controller is chef's kiss.
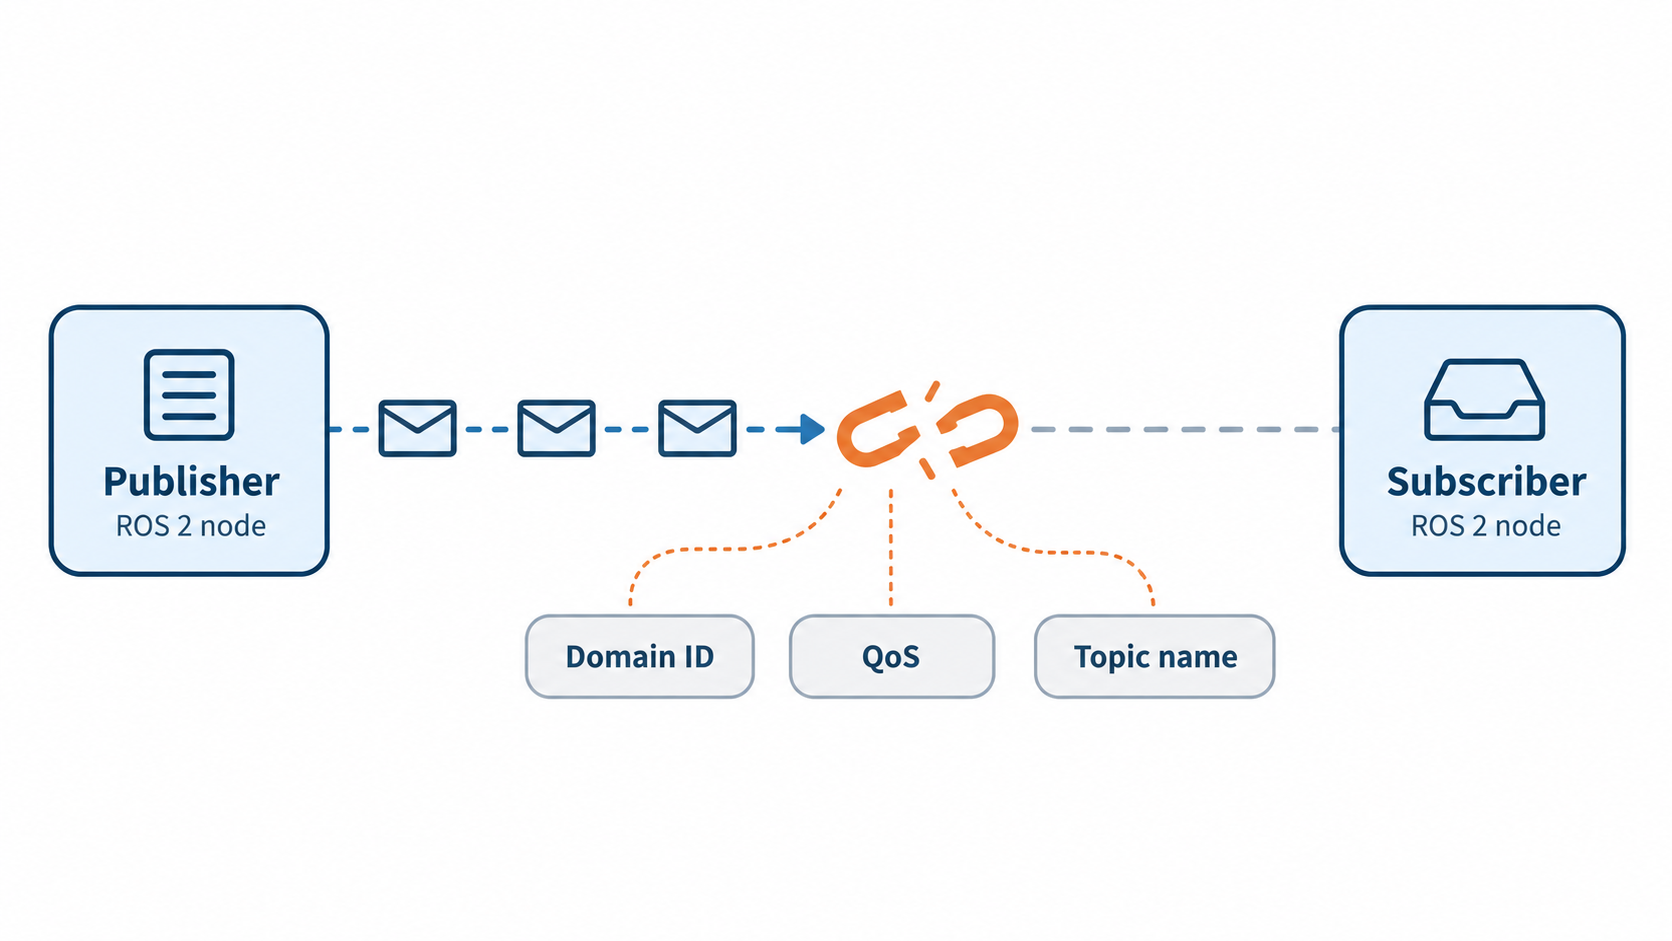
The flow is simple. The battery powers the motor driver, the driver powers the motors, and the microcontroller sends signals to the driver telling it which way and how fast to spin each motor. Your remote or phone talks to the microcontroller, the code translates your commands, and the car does the rest. Controller input, code, driver, motor, wheel. That's the whole game loop.
Common Mistakes (Aka Your Wasted Screens)
The biggest one is forgetting a common ground: the battery, driver, and microcontroller must share a ground connection, or nothing works and you'll cry. An underpowered battery makes motors stutter and resets the board mid-drive, and skipping the motor driver brings you right back to that "Wasted" screen above. Watch out for loose wires too: secure your jumper wires or solder them, because vibration is the villain. Finally, don't skip testing with the wheels off the ground: lift the car for the first run, unless you enjoy chasing your own project across the room.
Ready to Start Your Build?

That's the full loadout: a sturdy chassis, geared DC motors, a reliable motor driver, an Arduino or ESP32 brain, solid wheels, and a safe battery. Put them together and you've got a GTA-style RC car that's 100% yours, with zero police chases and way better replay value.
GTA 6 is fun, but building something with your own hands is the ultimate side mission. And no, you can't skip it with a cheat code.
We're launching shop.myequation.in very soon, with all the components you need: motors, drivers, microcontrollers, chassis kits, wheels, and batteries, all in one place for makers, gamers, and students across India. Stay tuned, and visit shop.myequation.in to be first in line when the doors open.
So, are you going to keep playing or start building? Mission accepted?