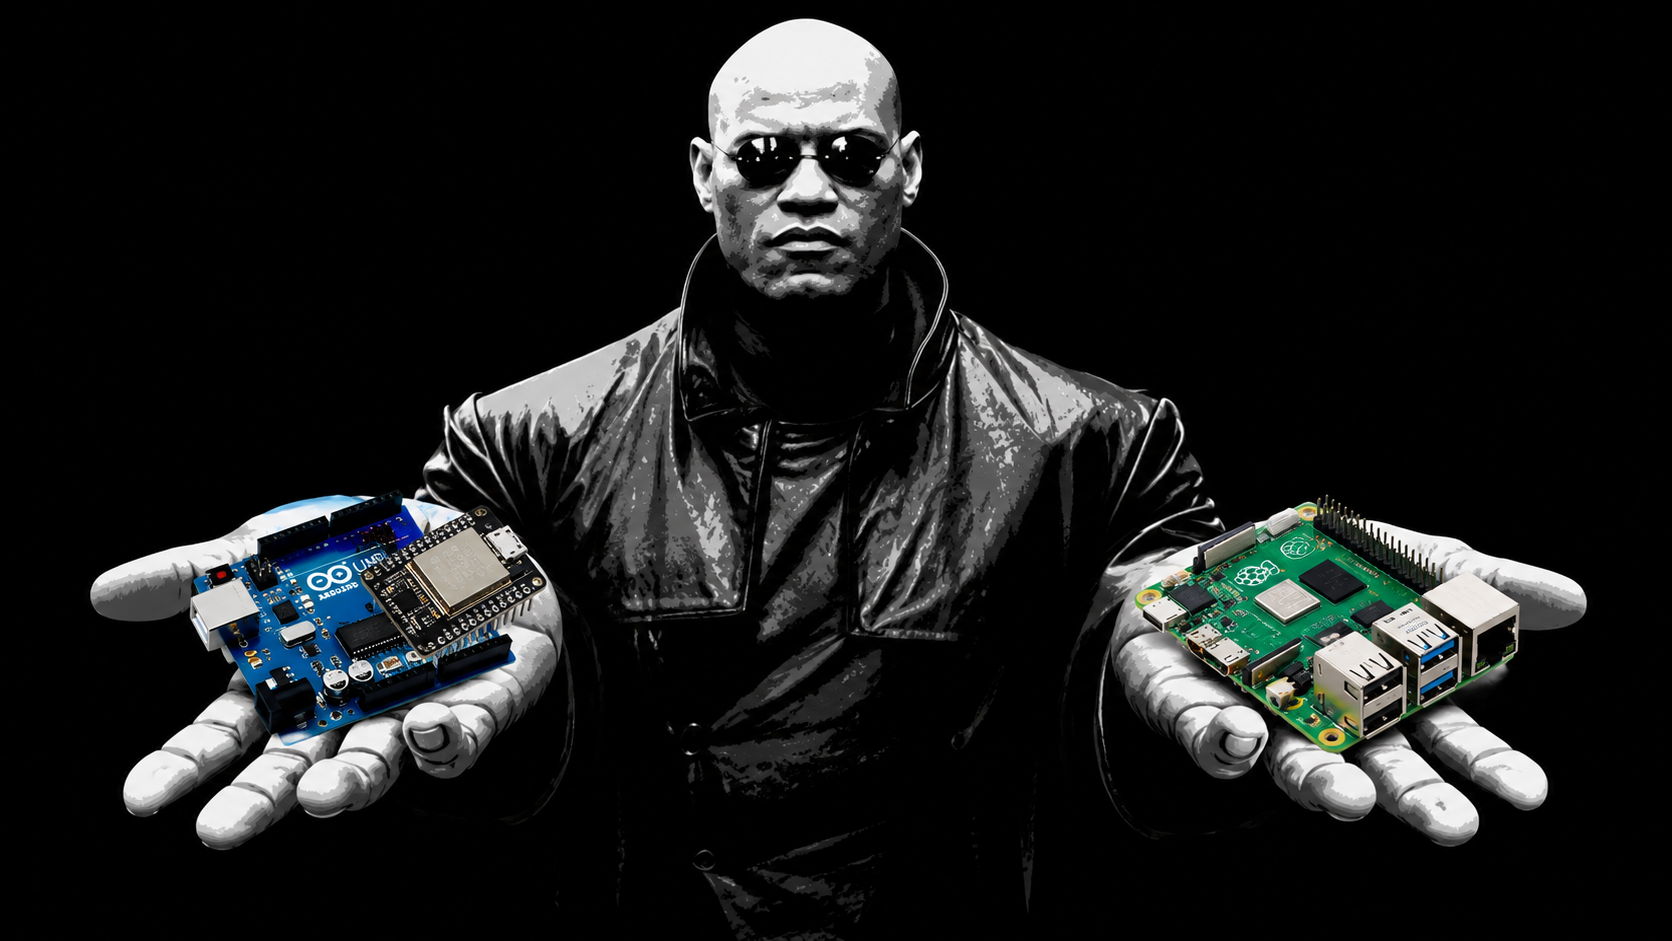

The dangerous part of watching someone build a robot on YouTube is how fascinating it looks by the end. They make it seem like: buy a few parts, write some code, sprinkle in a little ChatGPT, and suddenly a charming robot appears that can talk, see, and explore the house like a curious little creature.
What usually follows is a floor covered in 3D-printed pieces, tangled wires, motors with trust issues, and a Raspberry Pi that has already witnessed too much. After enough stubborn nights, the robot finally starts listening when spoken to, looking around with its camera, moving on its own, and occasionally replying with the unearned confidence of an AI.
This is what actually happens when someone tries to build a robot with ChatGPT without reading this blog till the end.
Can ChatGPT Build a Robot, or Just Tell You How?
ChatGPT can't solder a wire, print a chassis, or screw a motor into a bracket. What it can do is sit next to you through the whole build like a patient senior engineer who never gets tired of your questions. It writes the Python, explains why your motor driver is misbehaving, and helps you reason through architecture decisions.
So the honest answer is that ChatGPT can't build physical robots, but it can dramatically shrink the gap between "I have an idea" and "I built something" . There's also a second way ChatGPT can be involved. Besides helping you write the robot, it can be part of the robot, acting as the reasoning layer that interprets what the robot hears and sees and decides what to do. Most of this post covers both roles.
Where Do You Even Start?
Start with a small, boring goal: make one motor spin when you press a key. Resist the urge to describe your final robot in the first message.
A good opening prompt states your hardware (say, a Raspberry Pi, a motor driver board, four DC motors), your language (Python), and the single behavior you want. ChatGPT can then give you wiring guidance, a GPIO control script, and a list of things to check if nothing happens.
Then layer up. Once the wheels turn, add keyboard or gamepad control. Once that works, add a sensor. Each layer becomes the foundation for the next, and each is small enough that when something breaks, you know which layer to blame.
A useful habit is to paste your actual code and actual error messages instead of describing them. ChatGPT is much better at debugging what it can see than what you remember.
Do We Still Need Hardware?

Yes, and less than you'd think. A capable autonomous robot doesn't need exotic parts. A Raspberry Pi, a camera, a microphone, a speaker, a few distance sensors, a motor driver, and some 3D-printed or repurposed housing will get you surprisingly far. Many makers build the first version from parts already sitting in a drawer.
The hardware is the body, but the intelligence lives in software, and that's where you can get creative on a budget. Your robot doesn't need a powerful onboard computer if it can send a camera frame or a snippet of transcribed speech to a model somewhere else and get a decision back.
If you're not ready to buy anything, you can prototype the logic first. Ask ChatGPT to help you write a simple simulator, a grid world where a virtual robot has fake distance sensors and has to explore. Get your decision loop working there, then port it to real wheels. It's a great way to avoid burning out motor drivers.
How to Integrate AI Without Losing Your Mind

The trap is trying to make the AI do everything. The pattern that works is a pipeline of small, separate stages: sense, interpret, decide, act.
A typical voice-driven robot looks like this. A wake word detector listens locally, so the robot isn't reacting to every noise. For example “hello sars”. Speech-to-text turns your words into a string. A language model interprets that string and returns a structured decision, such as "speak this reply" or "move forward." Your own code executes it, changing the display face, playing audio through text-to-speech, or driving the motors.
The key design rule is that the model suggests and your code enforces. Never let raw model output drive motors directly. Ask the model to return a small, strict format like JSON with a fixed set of allowed actions, validate it, and only then act. A robot that misinterprets a sentence and does nothing is fine. One that invents an action and drives off the stairs is not.
Which Models Can You Actually Use?
You have more options than you need, and mixing them is normal.
For reasoning and conversation, Claude through the API is a strong choice, and its larger models handle multi-step instructions and structured output well. Its smaller, faster models suit a robot where response time matters more than depth. Claude also accepts images, so a camera frame can go straight to the model with a question like "what's in front of the robot and is the path clear?"
Local alternatives exist too. Open models like Llama can run on a nearby computer, and vision models like LLaVA can describe images without any cloud involvement. Many makers wire up several models and route different jobs to different ones, using a cheap local model for casual chat and a stronger one for planning.
Tip: keep a thin wrapper around "ask the model" in your code. Then swapping providers is a one-line change, which makes benchmarking painless.
Local vs Cloud: The Real Trade-Off
This is the decision that shapes the whole project, so it deserves a straight comparison.
Cloud models are smarter, easier to set up, and don't tax your Raspberry Pi. The costs are latency, an ongoing per-request bill, and the fact that your robot is useless without Wi-Fi. There's also a privacy angle: you're sending pictures of your home to someone else's servers, which is worth thinking about before you point a camera at your living room.
Local models run offline, cost nothing per request, and keep your data at home. The cost is that a small board struggles to run them, so you either accept slower, simpler answers or offload to a stronger machine on your network.
A pragmatic path is to start in the cloud to get everything working, then gradually move the pieces that don't need frontier intelligence (wake word, basic commands, simple obstacle logic) onto local hardware. Your long-term goal of running fully offline is achievable, but you'll get there faster if you build the cloud version first and use it as your reference.
From Remote Control to Autonomy

Don't jump straight to "explore my house." Build a ladder.
The bottom rung is manual control, using a gamepad or keyboard. It seems like a detour, but it's your best debugging tool. When the robot misbehaves later, you can drive it by hand and quickly determine whether the fault is in the hardware or the AI. Many builders say this single step saved them more often than any other.
Teaching It to Listen and Move
The next rung is spoken commands. Keep the vocabulary tiny at first: forward, backward, left, right, stop. You can even handle these with simple keyword matching before involving a language model at all.
Once that's solid, bring the model in for looser phrasing. "Turn around" or "back up a little" become structured commands the model translates into your allowed actions. Ask Claude to help you write the system prompt that defines those actions, and include explicit rules like "if the command is unclear, return stop."
Two small safety measures are worth adding immediately: a hard timeout so motors never run indefinitely, and an ultrasonic sensor check that overrides everything when something is too close. Those two lines of code prevent most disasters.
Giving It Eyes and a Memory
Vision is where the project starts to feel different. Capture a frame, send it to a vision-capable model, and ask a narrow question. "Describe this scene" is fun for demos, but "Is there a couch in this image, and is it left, center, or right?" is what actually enables navigation.
That's how "go to the couch" behavior works. The robot looks, finds the target, turns toward it, moves in short steps, rechecks, and stops when the distance sensor says it's close. Small steps with frequent rechecks beat any attempt at one confident long move.
Memory is the piece that separates wandering from exploring. Log every step: what it saw, which way it moved, how far the nearest obstacle was. Then feed a compressed version of that history into each new decision so the model can say "I've already been left of the table, try the other side." It's a crude form of memory, but it works well enough to stop circling. Those same logs can later become raw material for a 2D map of your home.
The Stuff Nobody Shows You

Project videos are edited down to the moments when everything works. The reality is mostly the opposite.
Debugging Nights & Unexpected Wins
There will be unexpected problems. Motors that spin the wrong direction because of swapped wires. A Raspberry Pi that reboots when the motors start, because the power supply can't handle it. A microphone that picks up the robot's own speaker and starts talking to itself. Audio device indices that change between boots.
AI is genuinely useful here, but only if you give it evidence. Paste the traceback, the wiring description, and what you already tried. It's good at proposing an ordered checklist of likely causes, which beats randomly changing things.
Then there are the unexpected wins. A robot face that blinks when listening and changes when thinking is a cheap trick, but it makes the machine feel alive and, more practically, it tells you what state the software is in. The same goes for logging: you added it to debug, and it turned into the foundation for memory and mapping.